Creating and Using Workflows
What are workflows?
Workflows are AI assistants that work together to achieve tasks. This can be an excellent tool for complex tasks where each agent tackles different steps within the workflow. Each agent of a workflow has an identity and set of skills that you define. This kind of AI is called Agentic AI. While it can be difficult to do this on other platforms, it's simple with Copilot Builder!
Create Workflows
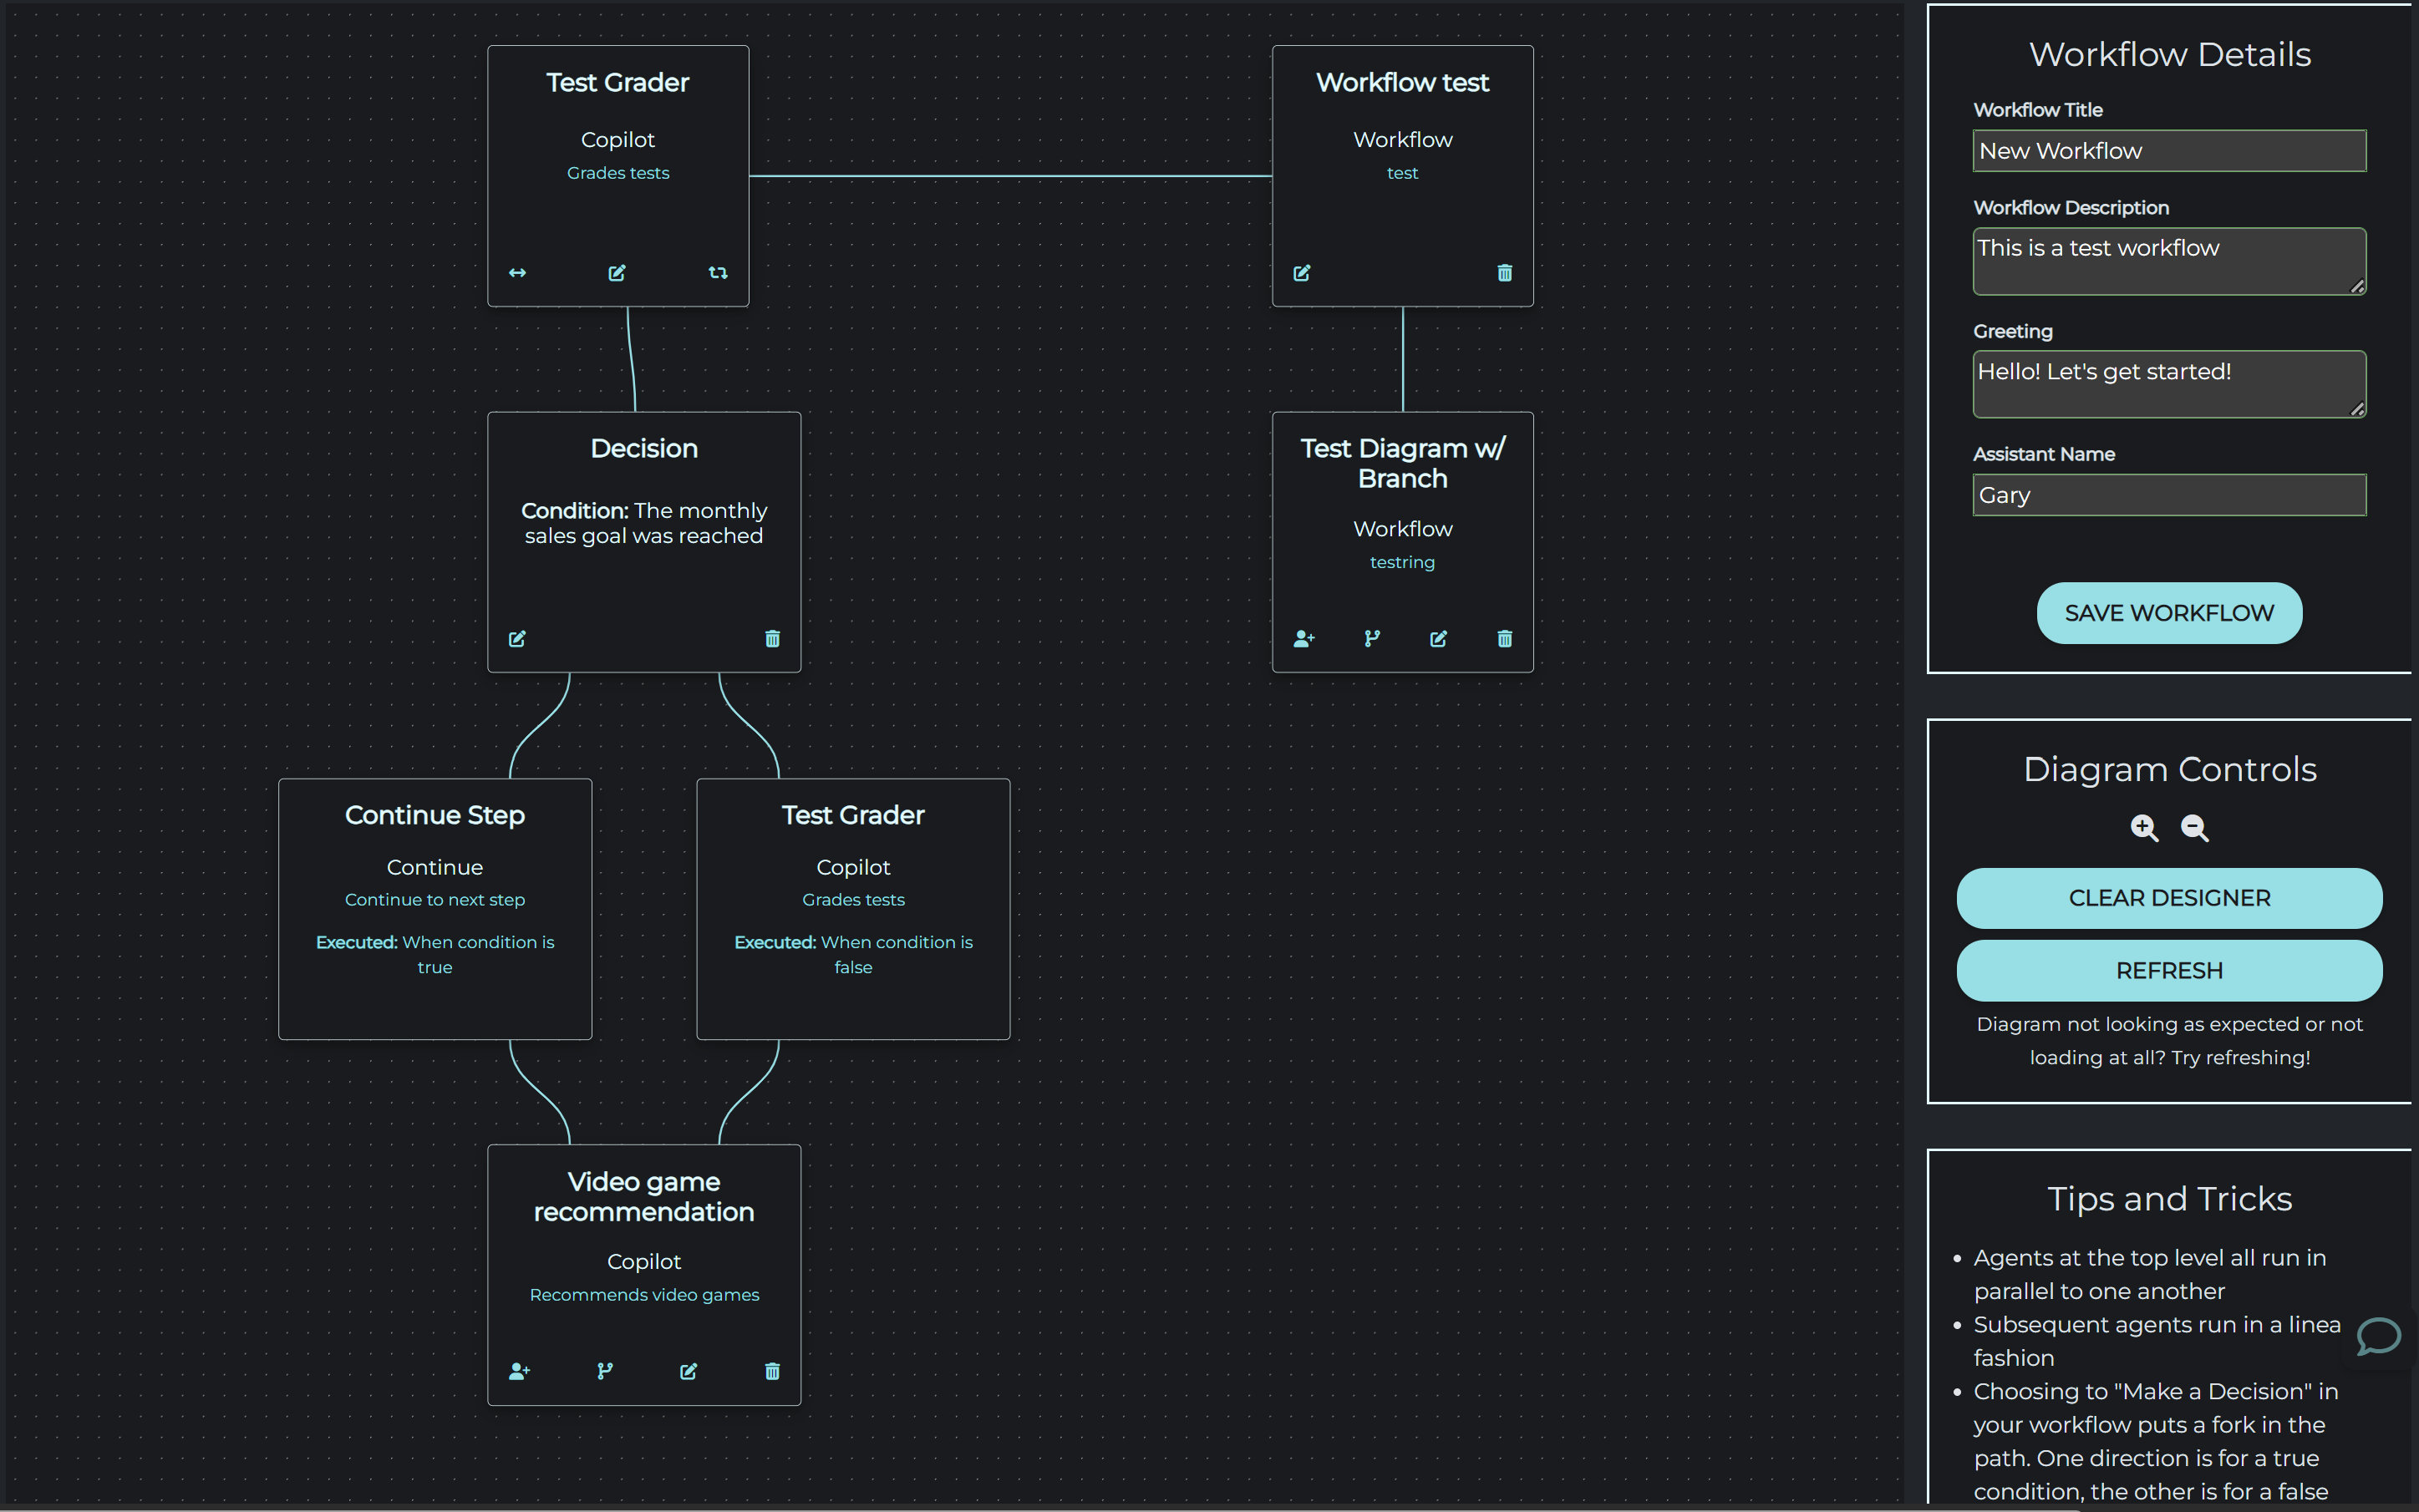
Set the details
- Navigate to the Workflows page
- Click on Add Workflow
- Provide a name for the workflow
- Describe what the workflow does.
- Designate a name for the assistant that your workflow will create
- Add a greeting that will kick off the workflow (e.g., "Hi! What can I help you with today?")
Choosing your agents
Agents can be copilots, other workflows, or scripts.
Start by clicking on the Choose an Agent to Start button to set your first agent in the diagram
After setting the first agent, you can choose to add agents in multiple orientations:
- Parallel agents: These can be added in the first layer of the diagram by clicking the button. Parallel agents run simultaneously with the agents in the same layer as them. These agents do not share their results with the agents next to them, but rather work concurrently beside them.
- Linear agents: These can be added after any agent that is last in a sequence by clicking the button. Linear agents run one after another, with each previous agent feeding the next agent its response, unless otherwise specified (See Agent Advanced Settings).
- Decision Makers:
Like the linear agents, these also can be added after any agent that is last in a sequence by clicking the
button.
Choosing to add a decision making branch allows you to change the direction of the workflow based on a true/false condition.
You start by setting the condition, then choosing an agent to fire if the condition is true, and an agent for if the condition is false.
In addition to copilots, pre-created workflows, and scripts you can also choose from these agents for a decision making branch:
- Continue Agent: continues the workflow to the next step in the sequence.
- Exit Agent: exits this portion of the workflow. So the linear sequence that this decision exists in will terminate. Any agents running in parallel will still continue to run.
- Termination Agent: exits the workflow as a whole including any parallel running agents.
Advanced Settings for Decision Makers:
This is where you can specify how your condition is evaluated. By default the condition is evaluated by an LLM. You may also choose to have your condition evaluated by these other means:- Pre-existing Agent is just one of your agents like you would select in any other part of the workflow. It can be a copilot, script, or another workflow. This agent works in tandem with the evaluators listed below to evaluate your condition. So once you choose this option, you must also select a text, regex, or JSON evaluator to work with your agent.
- Text Evaluatorchecks if the input matches the text of the condition.
- Regex Evaluatorchecks if the input matches a regular expression
Your condition must be a valid regular expression - JSON Evaluator checks if the input contains a JSON object
Your condition must be a valid JSON object
Advanced Settings for Agents
- By default, each agent feeds the next agent its response, and that agent then works off that input to do its processing. You can adjust this and add other instructions within your agent's "Advanced Settings" by changing the "Additional Prompt" section.
- Also by default, each agent's chat history is NOT shared with other agents in the workflow. If you want to de-isolate your agents and the work they do within your workflow, you have the option to do so by deselecting the "Isolate Context" checkbox. This is also in the "Advanced Settings" portion of each agent.
Working with the Diagram *NEW*
As you are adding agents the diagram will populate with the coordinating nodes and links between them. There are Diagram Controls to the right of your screen to help you work with this display. If the diagram doesn't quite look right or isn't populating properly, just Reset the Diagram to see if that fixes the problem.
Test your workflow
Once you have created your workflow you can test it by selecting the icon on the workflow. Here, you can see how all the agents interact with one another to achieve a goal.
Deploy your workflow
You may also deploy workflow in the same way as with copilots. We have hosted, framed, and API deployments. Feel free to explore these options to find the one that best suits your needs.